
Sample collection
How to collect your DNA sample
A quick, painless cheek swab — about two minutes from start to sealed. Here's exactly what to do.
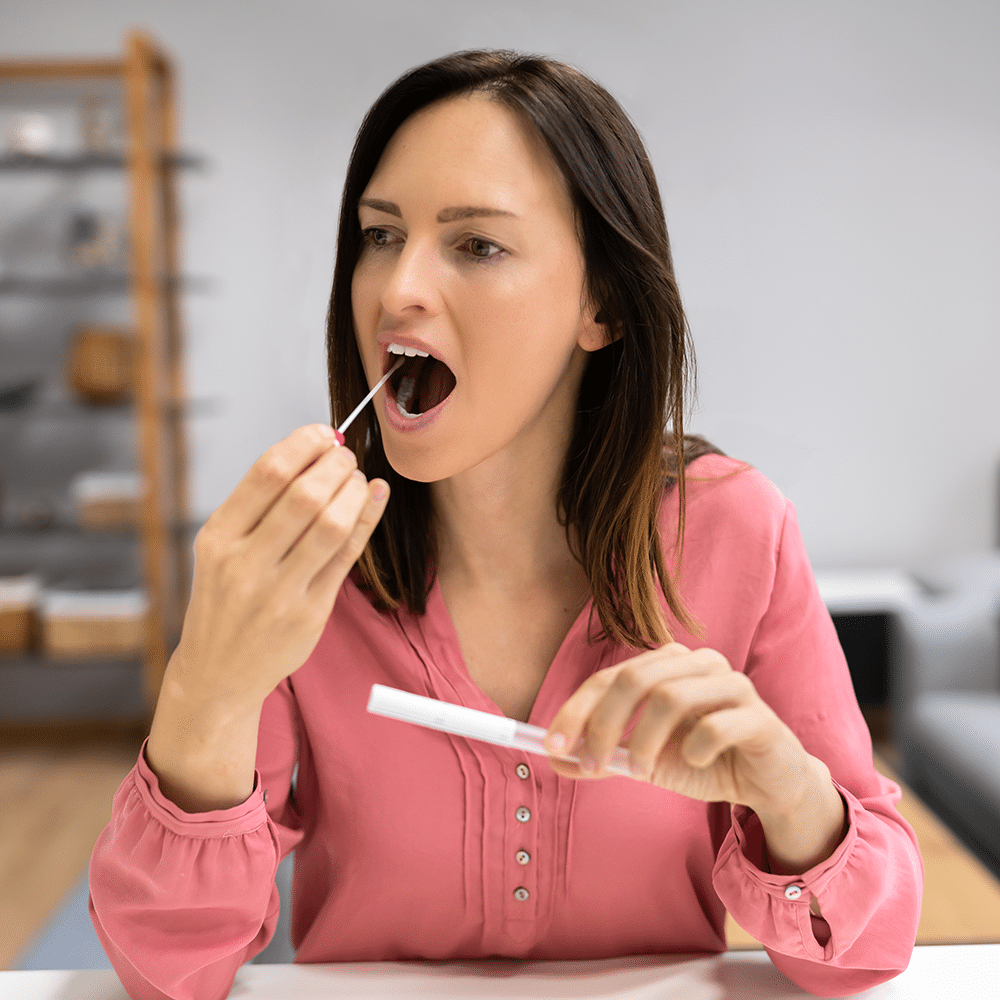
Before you begin
A little prep gives the lab the strongest possible DNA sample.
- Wait at least 30 minutes after eating, drinking, smoking, or chewing gum.
- Don't brush your teeth or use mouthwash right before collecting.
- Wash and dry your hands.
- Have both swabs, the silica-pack envelope, and the prepaid return envelope from your kit in front of you.
- Register your kit so your sample is linked to your account (see the button below).
Collect your sample
-
Open the first swab without touching the tip
Your kit contains two swabs. Remove the first from its wrapper, holding it by the handle. Keep the soft tip from touching anything but the inside of your cheek.
-
Swab one cheek firmly for a full 60 seconds
Rub the tip against the inside of your cheek with firm, steady pressure, rotating the swab as you go. Give it the full minute — firm, thorough swabbing is the single biggest factor in a usable sample.
-
Repeat with the second swab on the other cheek
Open the second swab and swab your other cheek for another full 60 seconds with the same firm pressure.
-
Break both swabs in half into the silica-pack envelope
Snap each swab in half and drop the swab tips into the silica-pack envelope from your kit. The silica keeps them dry.
Dry it, then send it back
-
Let the swabs air-dry in the silica-pack envelope
Leave the swab tips in the silica-pack envelope to dry. Drying preserves the DNA and prevents mold during transit — don't skip this step.
-
Confirm your sample ID
Make sure the sample ID matches the one in your kit and account, so your results are linked correctly.
-
Insert into the return envelope
Once dry, place the silica-pack envelope inside the prepaid return envelope from your kit and seal it. No refrigeration needed — the sample is stable at room temperature.
-
Mail it via USPS
Drop the return envelope in any USPS mailbox or hand it to your postal carrier. That's it — we'll email you the moment it reaches the lab.
Track it the whole way
Once your sample is on its way, you can follow every step — received, processing, and report ready — from your order status page.
These are general collection guidelines. Always follow the specific instructions printed in your EntheoDNA kit — they take precedence if anything differs. Questions? Email help@entheologyproject.org and we'll walk you through it.